Ride
Ride is a free Online Store 2.0 theme from Shopify. Ride is a distinct, dynamic theme perfect for stores selling sporting goods of any catalog size.

Ride has the following benefits for your online store:
- A sleek, sports-centric design that combines a dark background, bold typography, and accent colors to make your sporting goods pop.
- Unique page templates and asymmetrical layouts to showcase products, teams, and everything in between.
- Powerful visual storytelling and large media options give your customers a look and feel for your brand and products.
- Access to the latest features.
On this page
Customize Ride
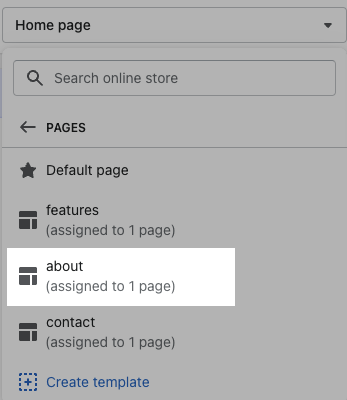
Ride includes a unique design for your "About Us" page. Tell the story of your brand by opening Ride in your theme editor, and then clicking the drop-down menu at the top of your screen. Select Pages, and then click About to load the template. For more information on applying templates to pages, review the template documentation.
Sections and blocks provide more flexibility in how you arrange your store's content, enabling you to control the look and feel of your online store without the need to edit code. You can prepare Ride for your online store by adding and customizing sections and blocks, and modifying the theme settings.
Learn about customizing Ride's sections and theme settings so that you can build your online store to suit your business, products, and brand.